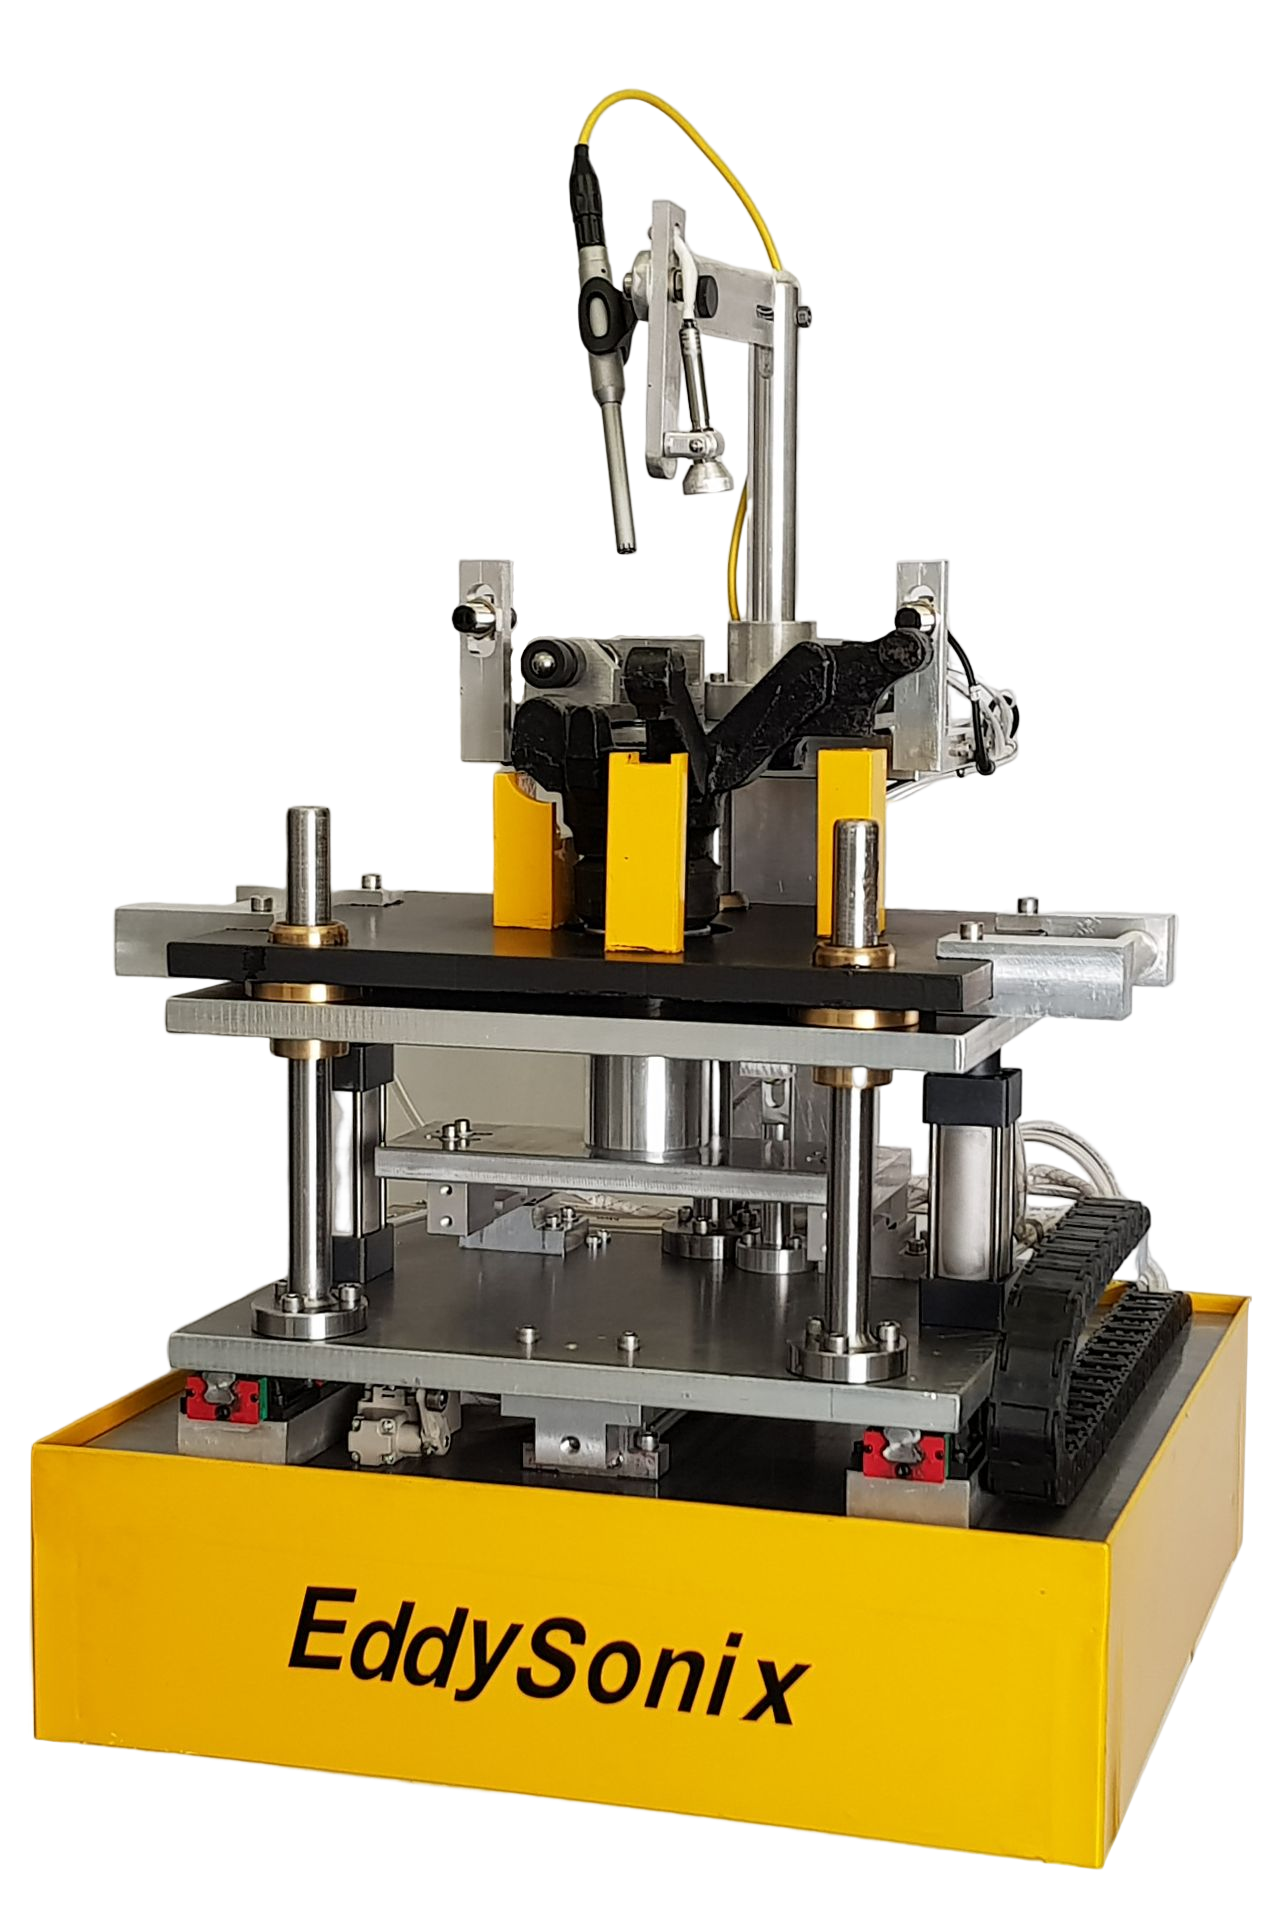
EddySonix® ARI Machines

How EddySonix® ARI Works?
Acoustic Resonant Inspection (ARI) typically involves using an impact device and a microphone to excite and detect resonant frequencies in a material. Here’s how it works:
Impact device: The first step in ARI is to apply a small, controlled impact to the surface of the inspected material. This impact produces a series of high-frequency sound waves that propagate through the material.
Microphone: A sensitive microphone is placed on the material’s surface to detect these resonant frequencies. The microphone picks up the sound waves reflected or scattered back from the material, including the resonant frequencies.
Analysis: The signals from the microphone are then analyzed to identify the resonant frequencies and any changes or anomalies in the material that may indicate the presence of a flaw.
Acoustic Resonant Testing
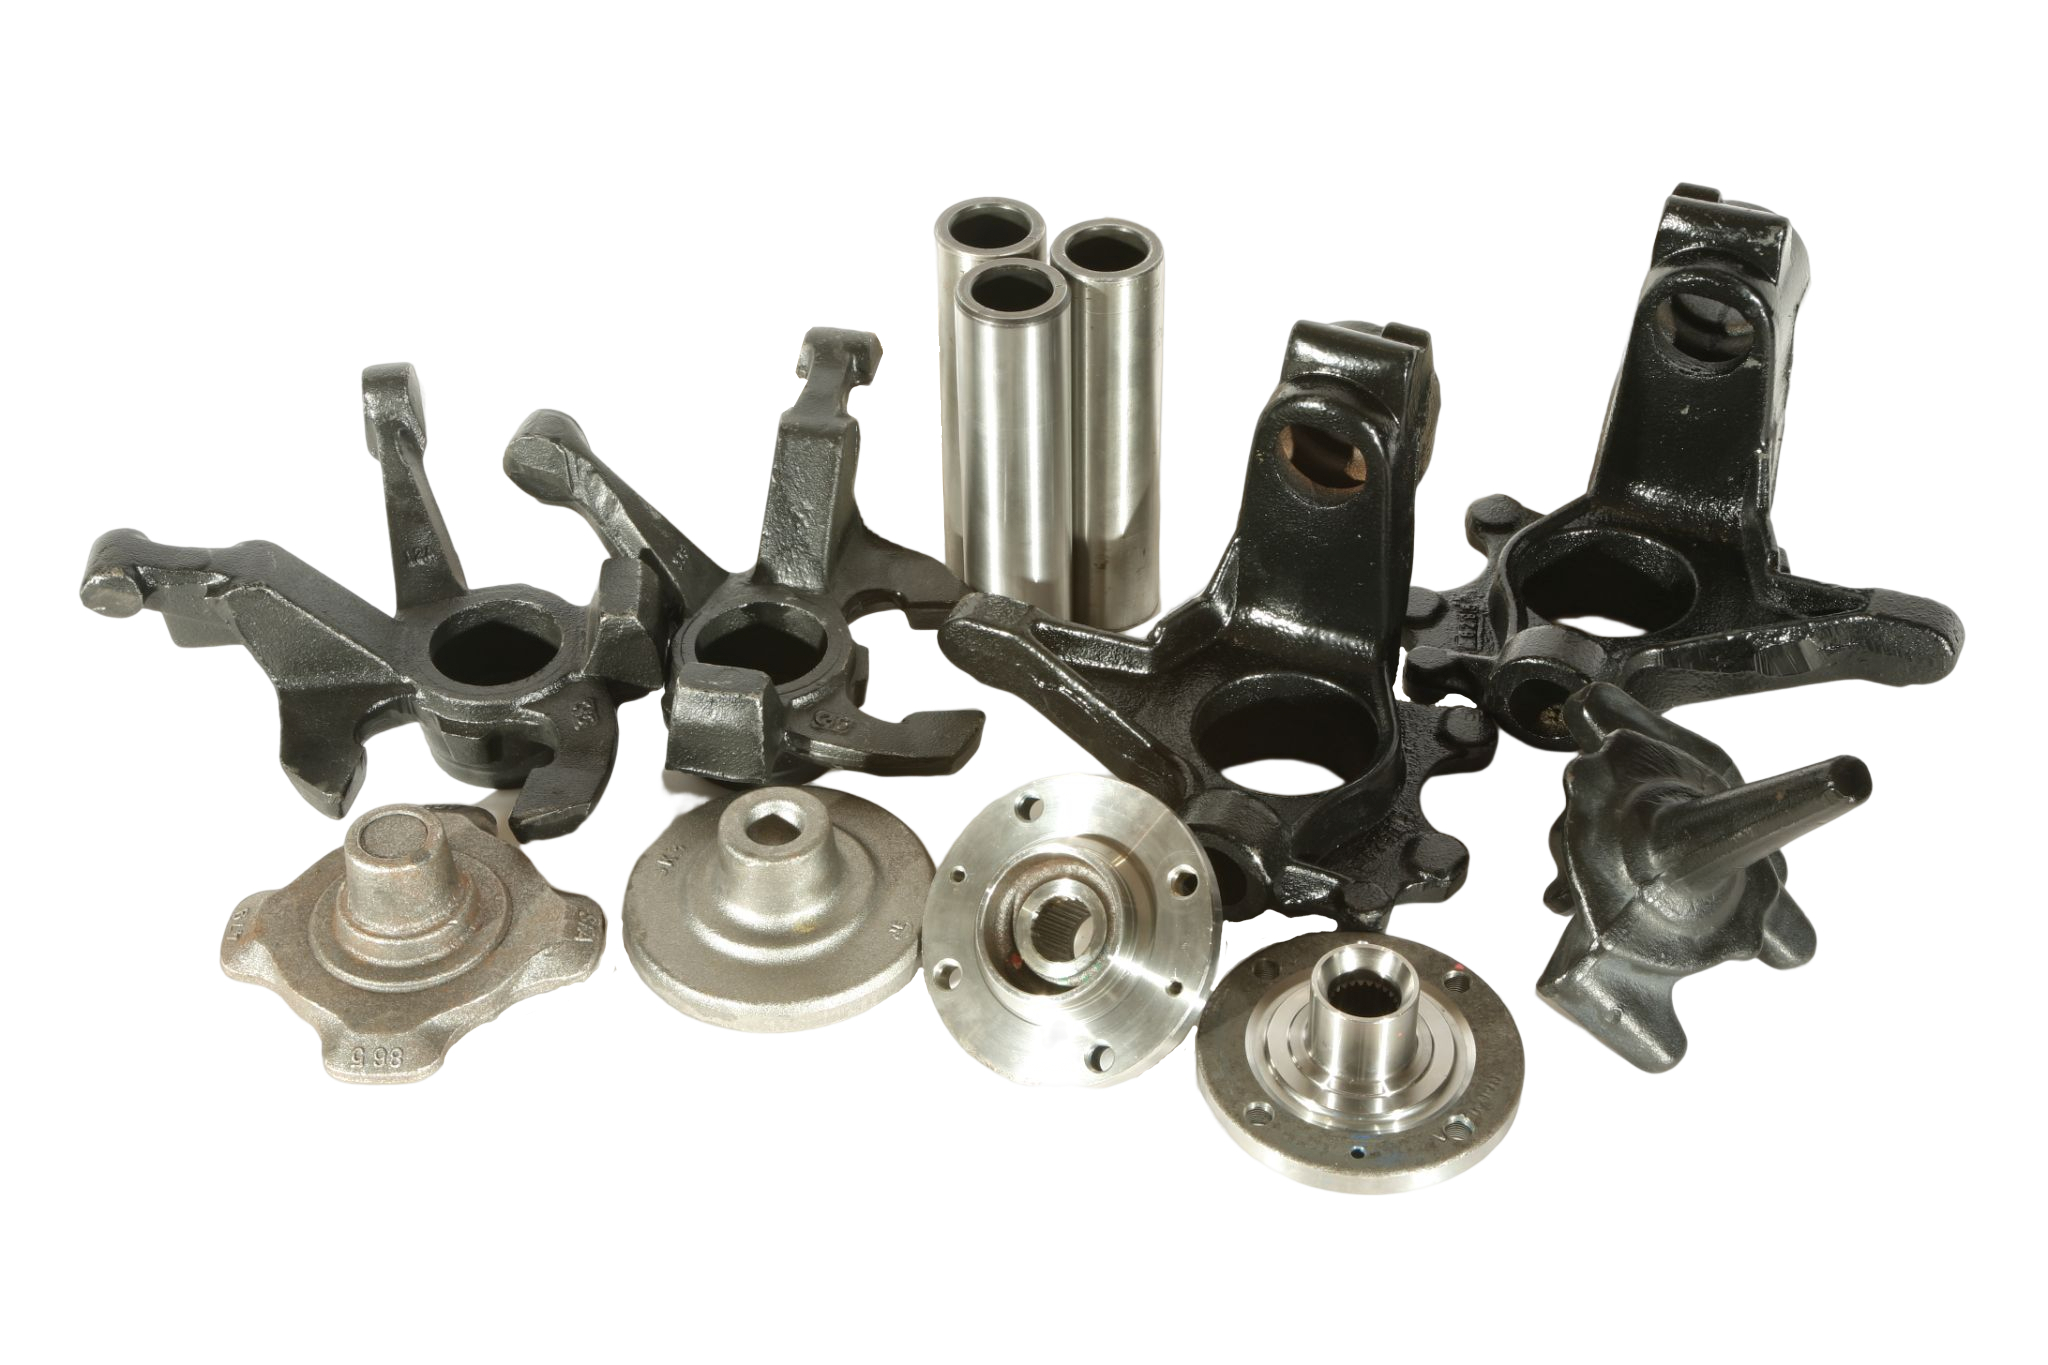
The EddySonix ARI Machines can detect various flaws in materials such as metals, composites, and ceramics, including cracks, delaminations, and voids. The technique is particularly effective for detecting minor flaws that may not be visible to the naked eye or detectable by other NDT methods.
Features
- Accurate and Repeatable
- High Speed Test (1 sec), Easy to Use
- Best for high volume 100% quality control
- Whole part test for internal and external flaws
- Compensation of Production Trends, Temperature, and Mass
- No part preparation required, no consumables expenses
- Various Tools for Data and Pattern Modeling
- Can be Integrated with Eddy Current System
- Industrial Computer, Robust against Noise and Dust
- Documentation and Statistical Reports

Applications
According to Standard ASTM-E2001, Resonance Testing can be used to detect defects in metallic and non-metallic parts. In a single measurement, the procedure can detect numerous defects including cracks, chips, cold shots, inclusions, voids, oxides, contaminants, missed processes or operations, and variations in dimension, hardness, nodularity, porosity, density, and heat treatment.

